How to Remove Water Spots From Your Car: A Step-by-Step Guide
Detailing Tips
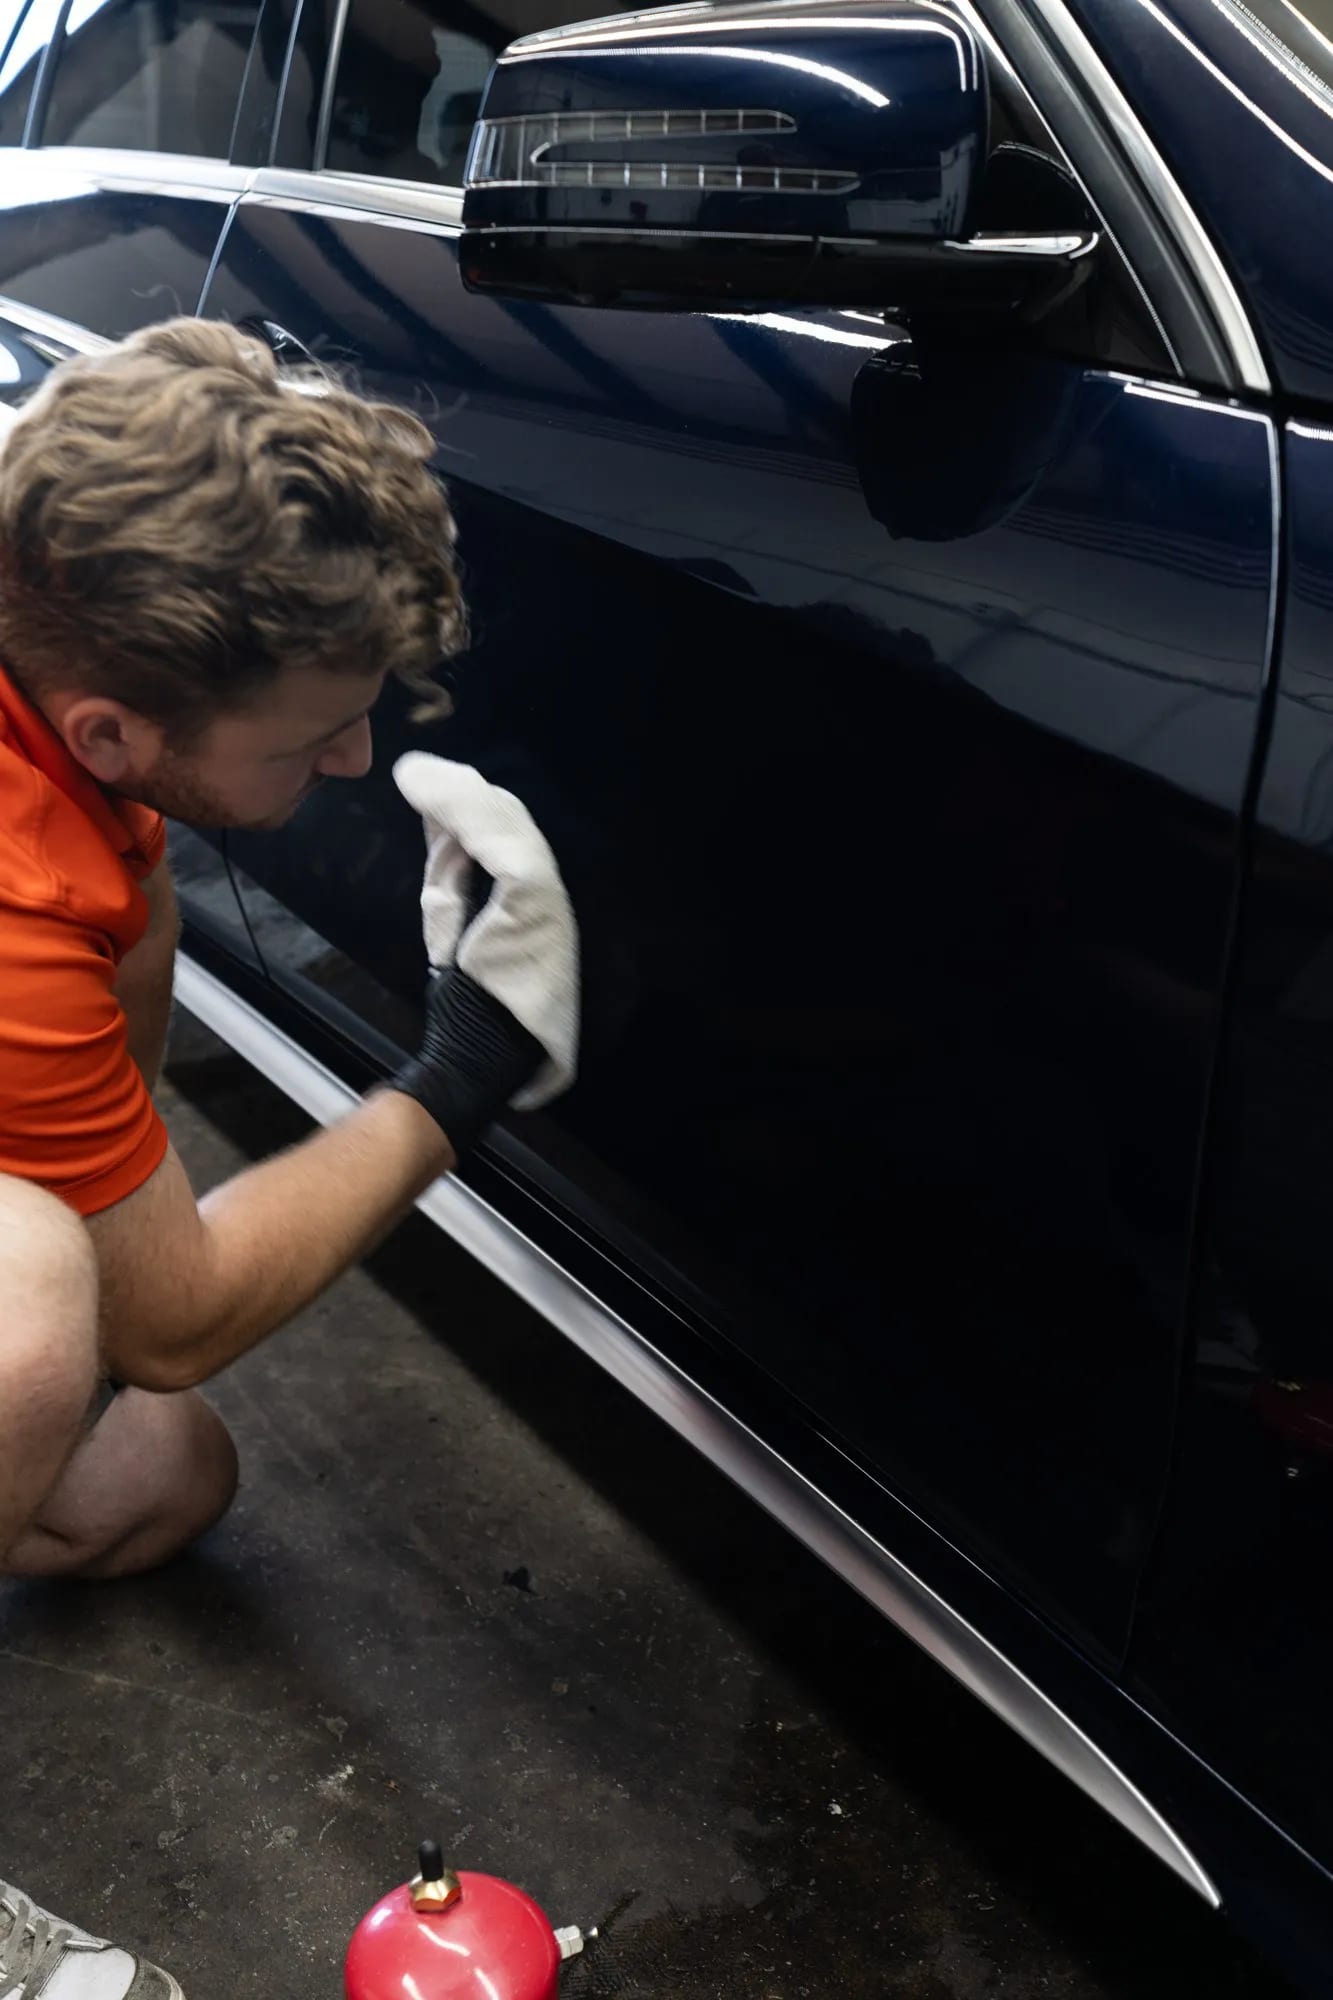
Hard water spots driving you crazy? Here's exactly how to remove them yourself, plus the point where it's worth letting a Vancouver, WA detailing pro step in.
Few things are more frustrating than washing your car, letting it dry, and walking back out to a hood covered in cloudy little rings. Water spots. If you live anywhere around Vancouver, WA, you know the drill — hard water, sprinklers that catch the driveway, a surprise summer shower followed by blazing sun. We deal with this stuff every single day at the shop, so here's the real, no-nonsense guide to getting rid of them — whether you want to DIY it or just know what you're up against.
FIRST, WHAT ARE WATER SPOTS ANYWAY?
Not all water spots are the same, and that matters a lot for how you get rid of them. There are basically three levels:
Type 1 — Mineral deposits (the easy kind). When water dries on your paint, it leaves behind the minerals it was carrying: calcium, magnesium, all that. These sit on top of the clear coat. Annoying, but removable.
Type 2 — Etched spots (the tricky kind). If those mineral-heavy droplets bake in the sun long enough, they actually etch a little ring or crater into the clear coat. Now you're not cleaning something off — you're dealing with damaged clear coat.
Type 3 — Glass spots. Your windows get them too, and they're stubborn because glass is more porous than you'd think.
The quick test: run your fingernail lightly over a spot. If it's smooth, it's probably Type 1 and you can clean it off. If you can feel a rough ring or divot, it's etched — and that's a different job (more on that below).
WHAT YOU'LL NEED
- Car wash soap and two buckets
- A stack of clean microfiber towels
- Distilled water and white vinegar (for a DIY spot remover)
- A clay bar and clay lubricant
- Optional but ideal: a dedicated water-spot remover
- For etched spots: a machine polisher, cutting compound, and polish (the advanced stuff)
STEP-BY-STEP: REMOVING THE EASY (TYPE 1) SPOTS
- Wash first, always. Give the car a proper two-bucket wash and rinse. Sometimes a good wash knocks out fresh spots on its own. Work in the shade — never on hot paint in direct sun.
- Mix a spot remover. A 50/50 mix of distilled white vinegar and distilled water is the classic DIY move. The mild acidity dissolves mineral deposits without being harsh.
- Spray, dwell, wipe. Spray the solution onto the spots, let it sit a minute or two (don't let it dry on the paint), then gently wipe with a clean microfiber. You should see the spots lift.
- Rinse thoroughly. This is the step people skip — always rinse the vinegar off completely so it isn't sitting on your paint or trim.
- Still there? Clay it. If some spots hang on, clay-bar the panel with plenty of lube. Clay pulls off bonded contaminants that washing can't.
- Dry it right. Dry with a clean microfiber or a blower so you're not creating brand-new water spots. If you can, use distilled or filtered water for that final rinse.
DEALING WITH ETCHED (TYPE 2) SPOTS — HERE'S WHERE IT GETS REAL
If you did all of the above and you can still see or feel rings, the minerals have etched into your clear coat. Cleaning won't fix it. The only way to remove an etched spot is to gently level the clear coat around it with machine polishing — a.k.a. paint correction. You use a light cutting compound and a polisher to remove a micro-layer of clear coat until the etching is gone.
Real talk: this is where a lot of DIY jobs go sideways. Clear coat is thin — often thinner than a sheet of paper — and a polisher builds heat fast. Push too hard, sit in one spot too long, or grab the wrong pad, and you can burn straight through the clear coat. That's a repaint, not a polish. If you've got the tools, the experience, and ideally a paint-depth gauge, test a small spot first. If not, this is genuinely the moment to hand it to a pro.
THE PART EVERYONE FORGETS: PROTECT IT AFTERWARD
Here's the thing — removing water spots is only half the battle. Bare clear coat is porous and thirsty, so it'll spot again just as fast. Once your paint is clean and corrected, seal it. A quality sealant, or even better a ceramic coating, makes the surface hydrophobic so water beads up and rolls off instead of sitting and etching. It's the difference between fighting water spots every weekend and just wiping the car down. Curious about coatings? Here's our ceramic coating rundown: https://autospa360.com/services/ceramic-coating.
WHEN TO JUST LET US HANDLE IT
We're all for the die-hard DIY crowd — genuinely. But here's when it's worth booking the shop instead:
- The spots are etched and you don't want to risk your clear coat with a polisher.
- There are a lot of them, or they're all over the car (weeks of sprinkler overspray — we see it constantly).
- You want it done once and done right, with a paint correction and a ceramic coating so they don't come back.
That's exactly the kind of work we do every day here in Vancouver, WA. We'll figure out whether your spots are sitting on the surface or etched in, correct them safely, and seal the paint so the next rainstorm is a non-event. Want to see the kind of finish we turn out? Take a look at our gallery: https://autospa360.com/gallery.
Ready to make water spots someone else's problem? Book online at https://autospa360.com/store or give us a call at (360) 513-6564. Whether you tackle it yourself or hand us the keys — now you know exactly what you're dealing with.
Related reading
Once the spots are gone, keep them gone: read how to stop water spots before they start. For etched spots that need machine polishing, see our paint correction service, and for a surface that sheds water for years, our ceramic coating.